Our software recently got a face lift, but it’s not all about appearance. It has also become incredibly easy to use (you’ll agree with me after seeing the screen shots) so that you can update your screen’s content in no time. You don’t have to be a techie to be able to manage it and understand how the system works! Plus we can always offer training and on-going customer- support.
So here’s a very simple example of how uploading files and administer your screen’s content works. The simplicity of the software allows you to focus on what matters the most: putting your message across in a cost and time- efficient manner.
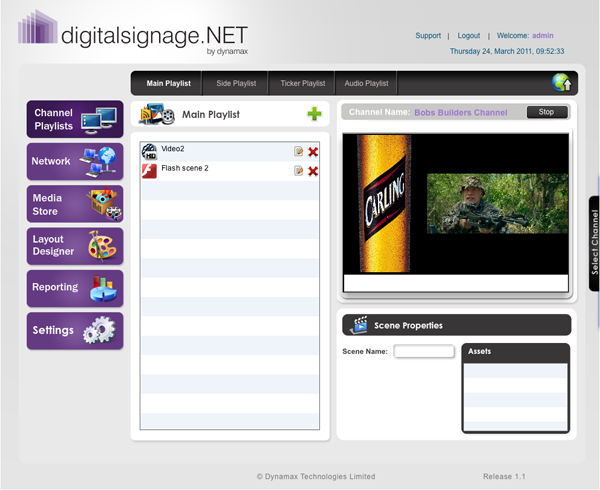
That’s what you see when you access the system (well, probably without the man with the gun :)). Main Playlist– central area of your screen. Side Playlist– the left/right hand side area of your device. Ticker Playlist: the narrow part at the bottom or top of the screen (depending on your settings) that you now see in white.
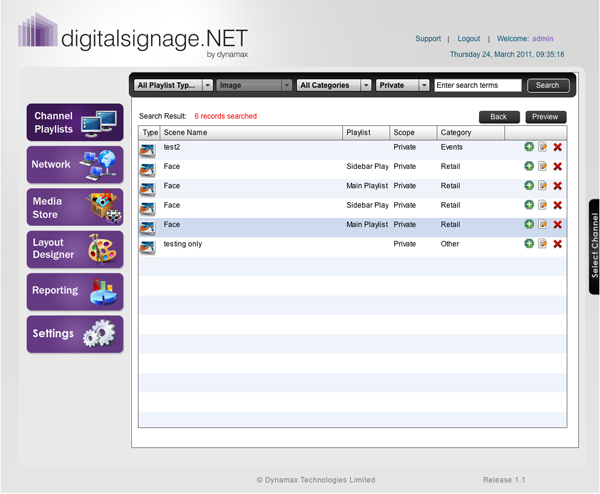
You might want to upload a file. It’s as easy as attaching a file to an email or uploading a file on any other Internet application. Nothing more complicated than that. Select the file type: image, video, text etc.
I chose to add an image. All you have to do now is select the image you want to insert and have it play on your screen. To do that just click the add button ![]()
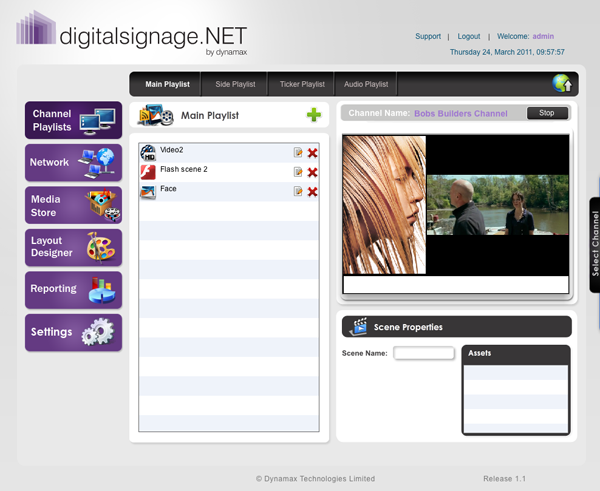
That’s what you are going to see after adding your file. Hit preview for knowing how your venue’s screen(s) is/are going to look like (video+image+text) after you publish the content.
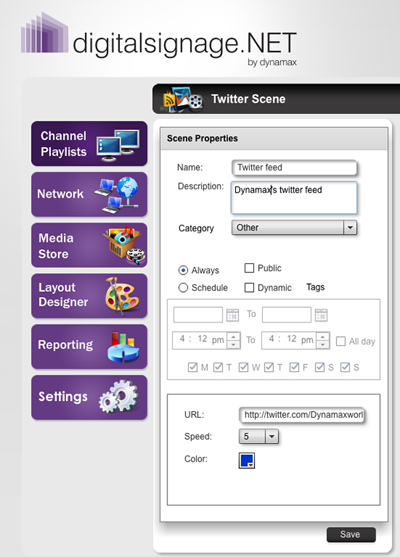
If you have a corporate Twitter account and you want to advertise it an get more followers you can add a Twitter feed either in the top or bottom area of your screen. Any other RSS feed can be added (news etc.)
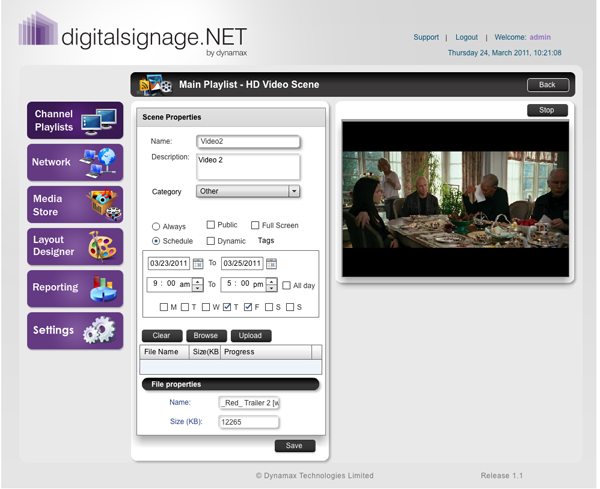
You can time the appearance of your content to enhance the relevance of your message and maximize the screen’s space.
More info here.

the above given details are very clear and useful for us .
i am in need of extra details about digital signage.